Continued from Making a Dragon Pen – Part 1
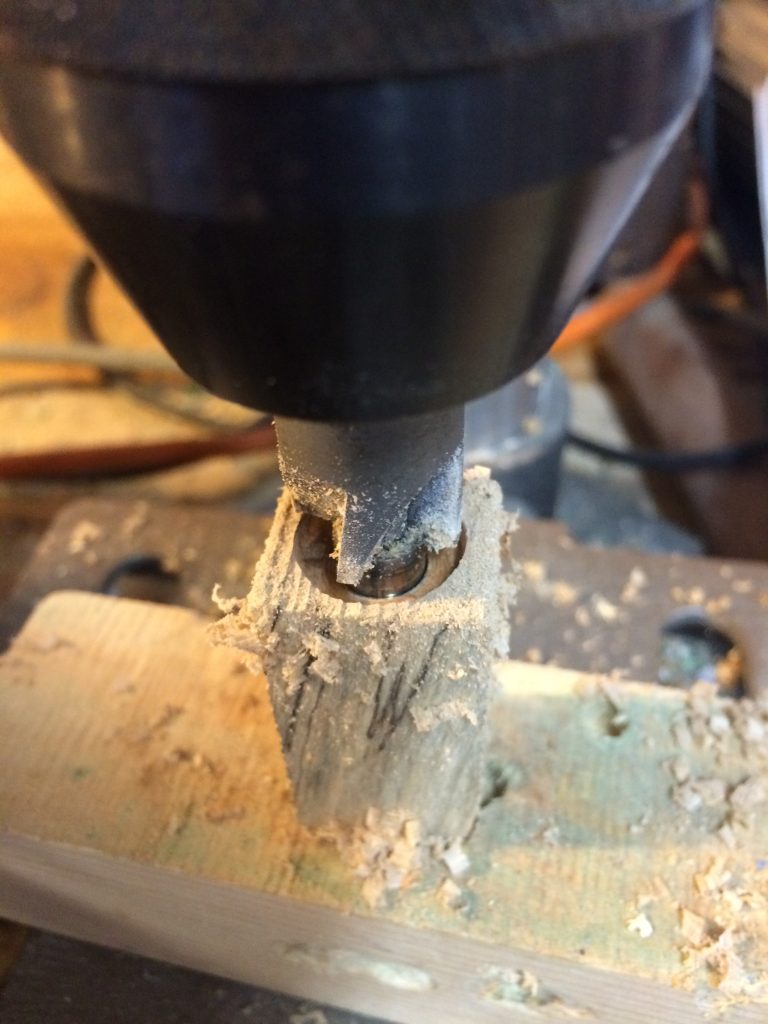
A pen mill is used on the drill press to trim the extra wood at the end of the blank, and to square the wood to the brass tube. Care is taken to trim just to the end of the brass tube so as not to cause the brass tube to be too short for proper assembly later.
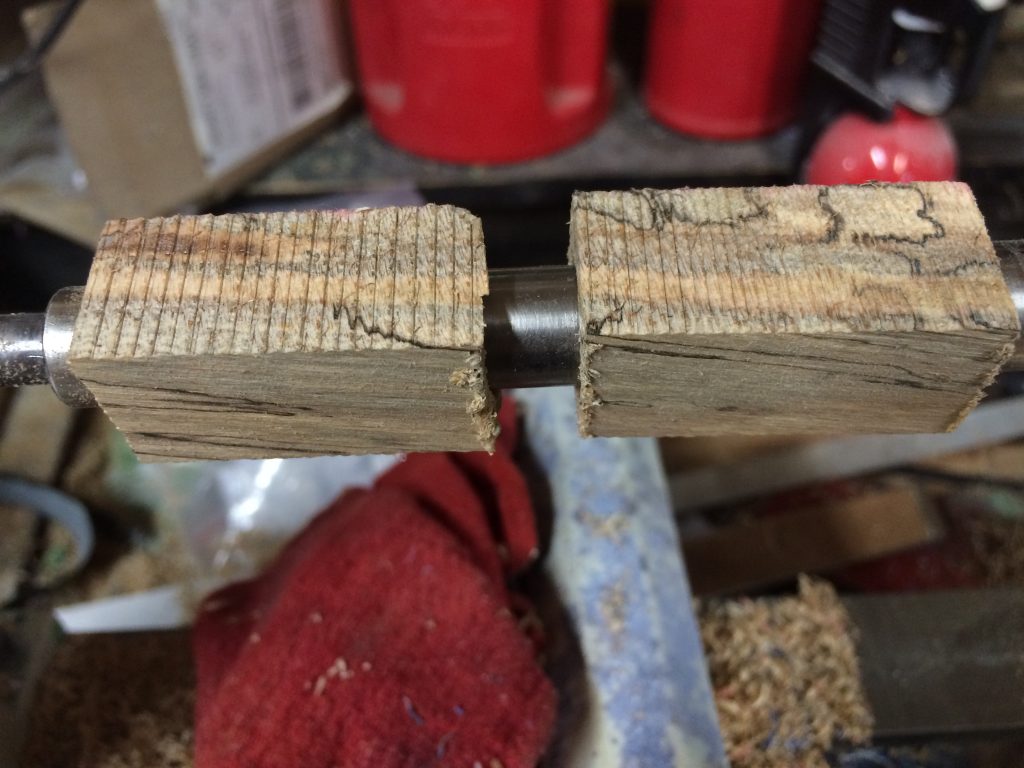
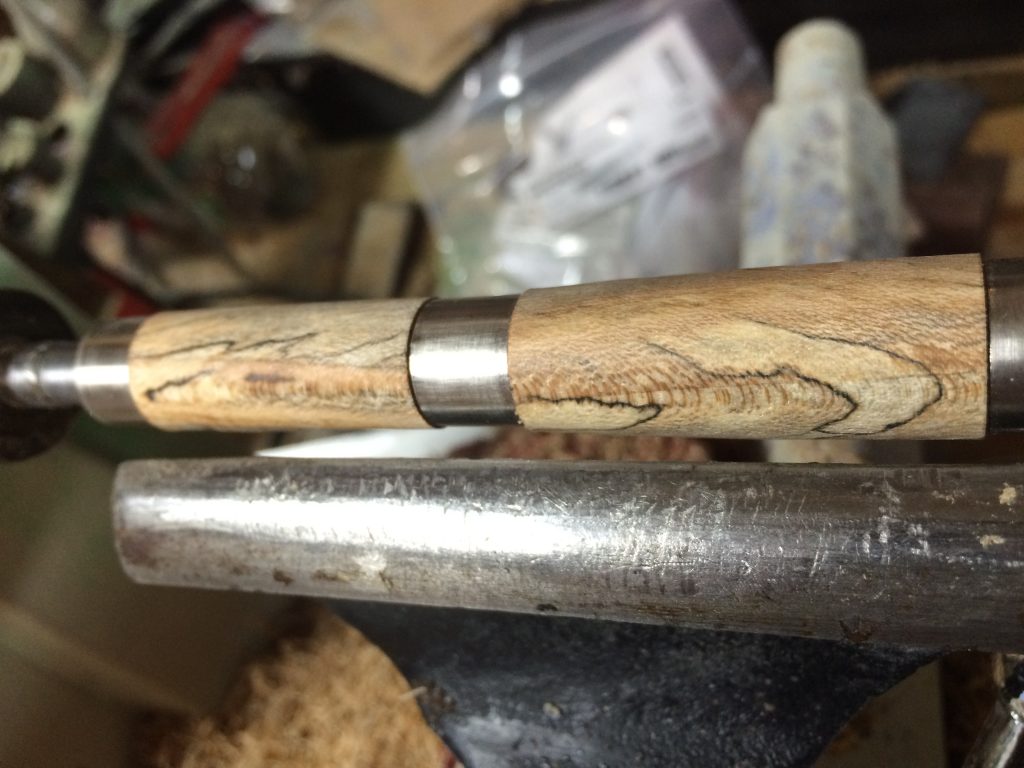
The blanks are now mounted on the lathe. A shaft runs from the head stock to the tail stock to support the blanks. Bushings are fitted onto that shaft to center the brass tubes to the support shaft, allow for the blanks to be “pressed” together somewhat to provide friction to drive the blanks so they don’t spin freely while the lathe is running. Proper bushings also are designed to provide a guide to get close to the proper diameter of the blanks to match the hardware. The wood grain is aligned at this point to ensure the grain aligns nicely when the pen is completed. While the grain on this piece of wood is readily apparant, some woods have grain that is difficult to align this way, so pencil marks are used to keep blanks in proper orientation.
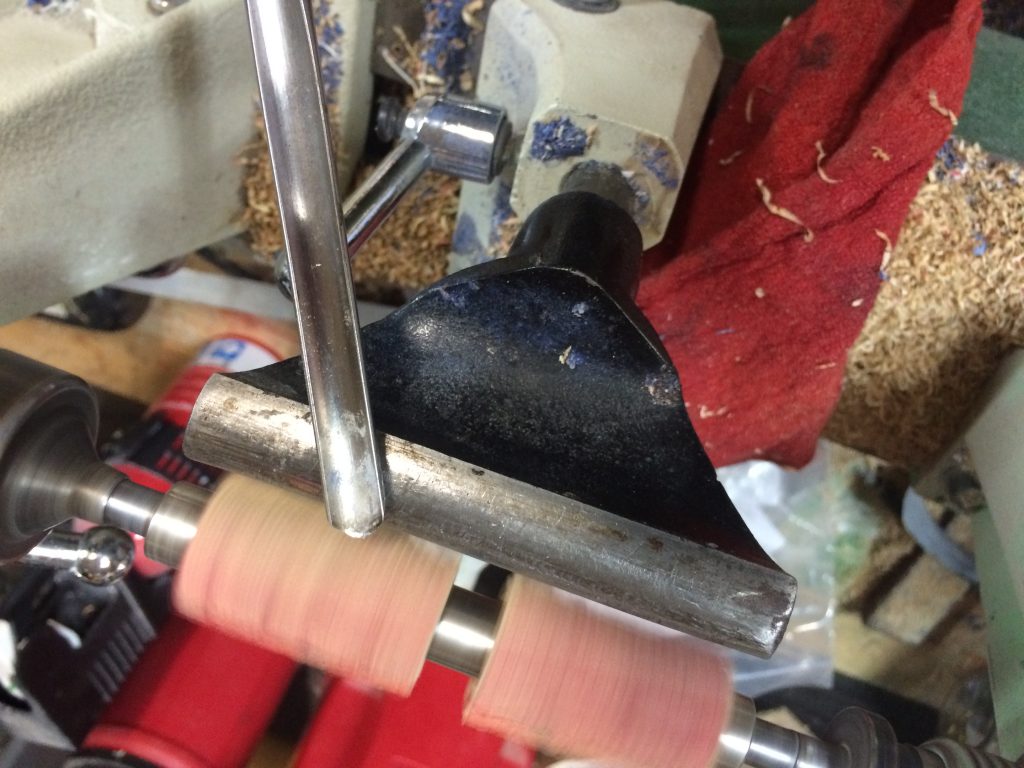
Once set, the lathe is turned on and a small gouge is used to begin rounding the blanks into the pen barrels.
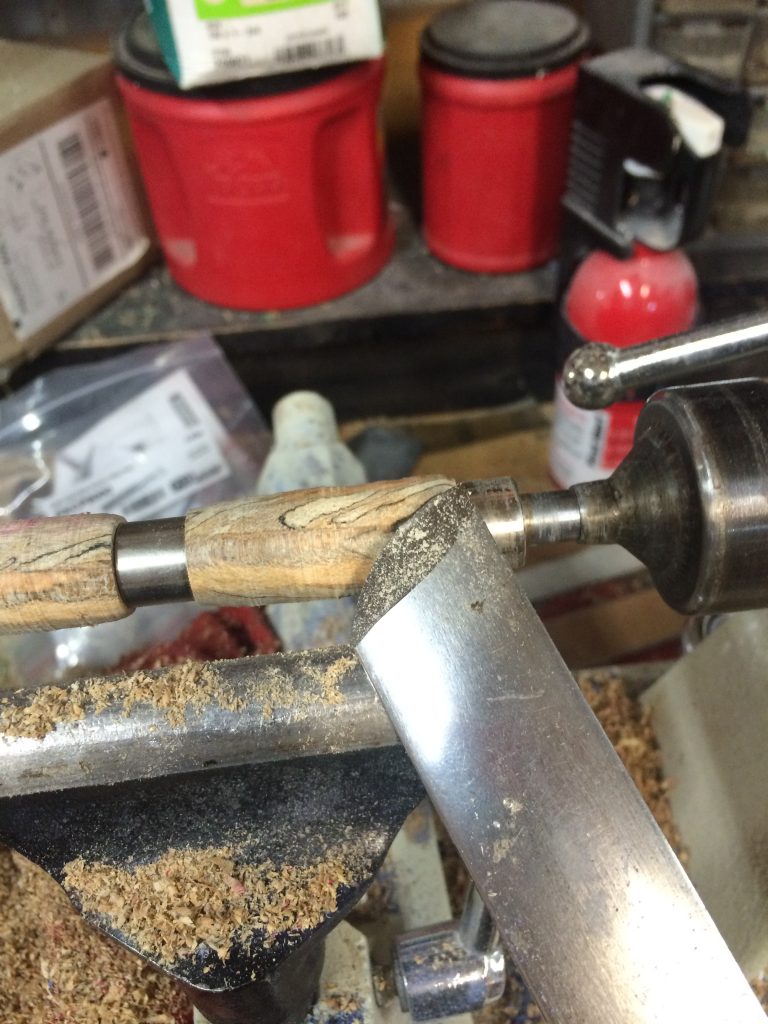
As the process progresses, different tools are used to achieve the desired results. I like to use a skew once the initial rounding is done as the skew leaves a nice smooth surface. Above, you see the tool marks left from the gouge, and the skew that will be used next.
The turning is nearly complete. Notice how much smoother the blanks are now following the skew work. From here, sanding will smooth the wood surface even more, and get the wood down to the proper diameter. A digital micrometer is used frequently to get a precise measurement to ensure a great fit to the hardware. Finishing and polishing will complete the wood preparation and ready the pen for assembly.
Go to Making a Dragon Pen – Part 3
Views: 136

