Build A Brooder!
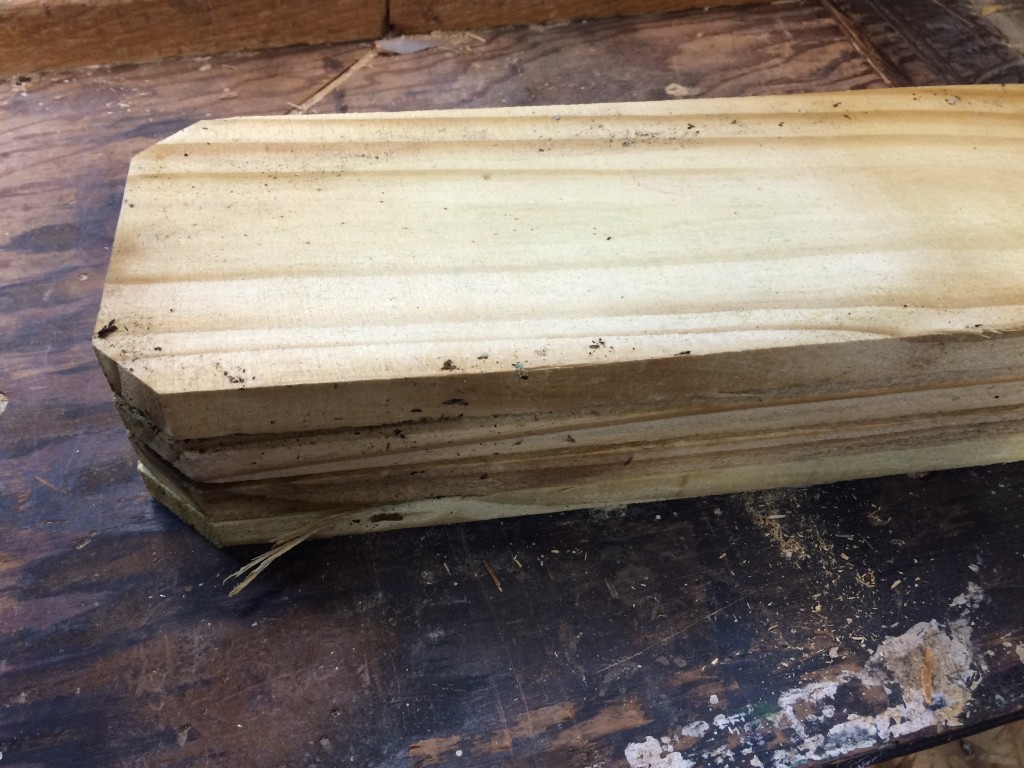
So I started with pressure treated pine fence pickets. Cedar would have been my choice, but cedar is harmful to chickens. I cut these to 38 inches in length. You might want them a different length depending on how tall you want the top of the brooder to be. If you use wheels, be sure to account for the wheel height as well.
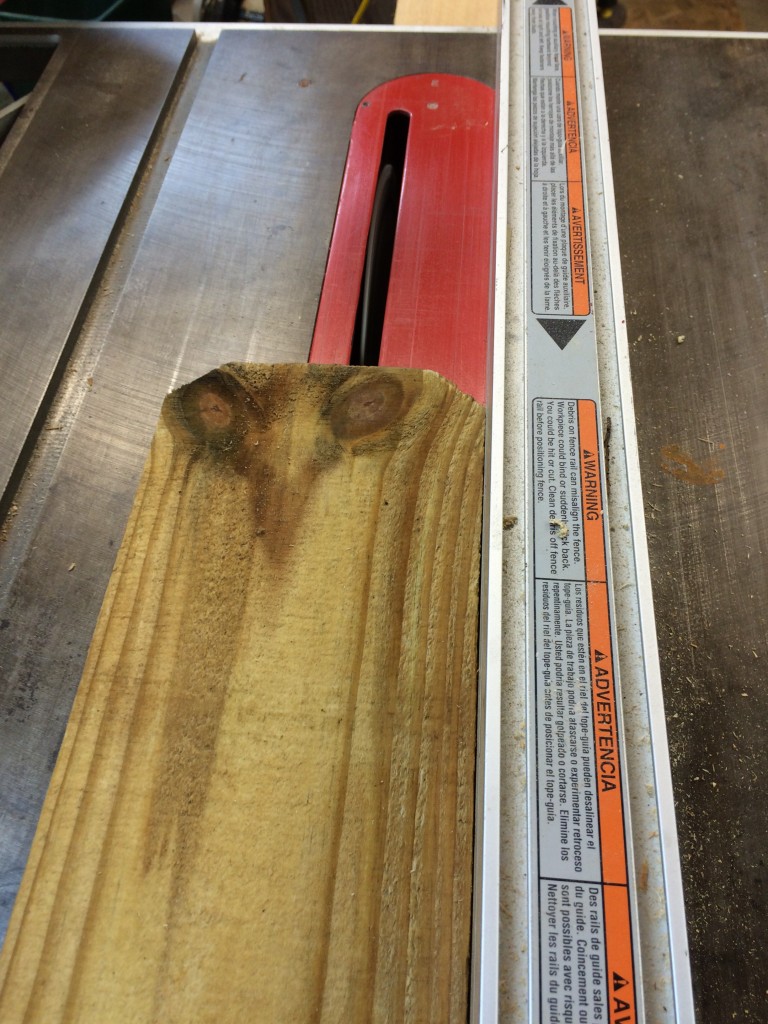
I setup the table saw at 2-1/2 inches to rip each of four fence pickets. This gave me a strip 2-1/2 inches wide and a strip 3 inches wide.
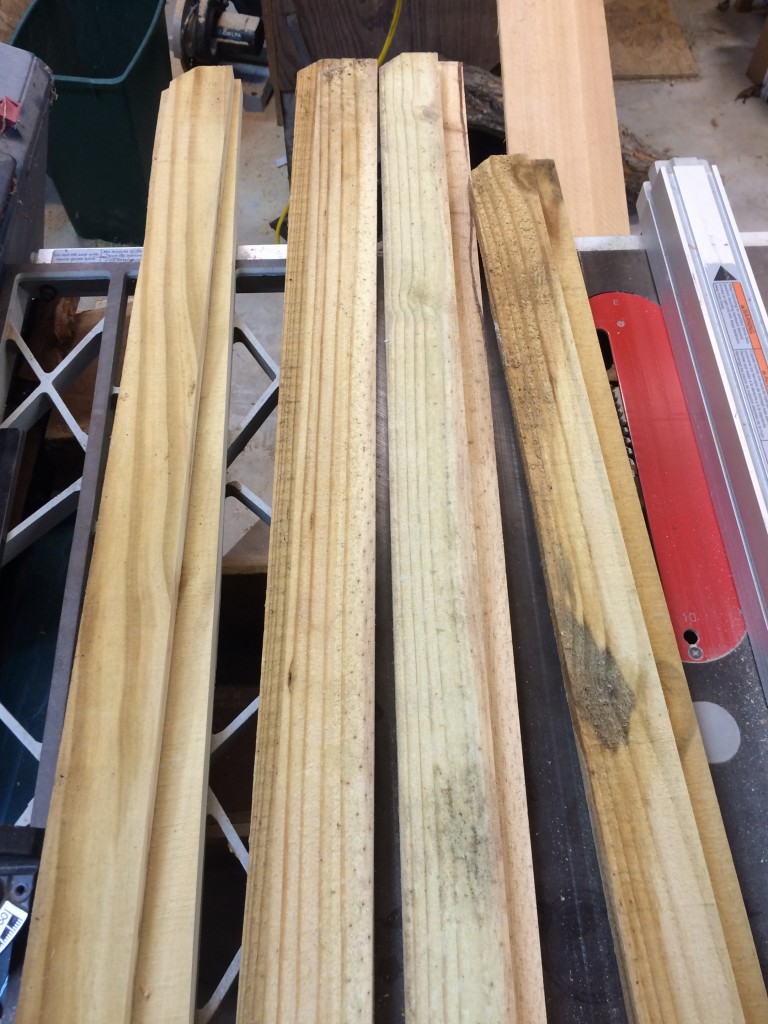
After cutting.
The 2-1/2 inch attaches to the 3 inch part, so when assembled, each side is 3 inches. The dog ear parts were at the same end.
These four assemblies become the legs for the brooder to stand on, and the corner frame for the box.
Sides are 1/2 inch OSB. Bottom is 3 x 4 feet. Ends walls are 2 x 3 feet, long walls 2 x 4 feet. The OSB is cut at the big box store where we bought the materials. One sheet cut into a 3 x 4, a 3 x 4, and leaves a 2 x 4. That makes the bottom and a 3 x 4 is cut into 3 x 2 to make two end walls. A second sheet gets a slice of 2 x 4 cut off it, to make the second side wall. The remaining OSB was cut into 4 foot by 16 inch parts for next boxes for the chicken coop, but not used for the brooder part of the project. Individual parts were trimmed by 1/2 inch or so to make assembly fit.
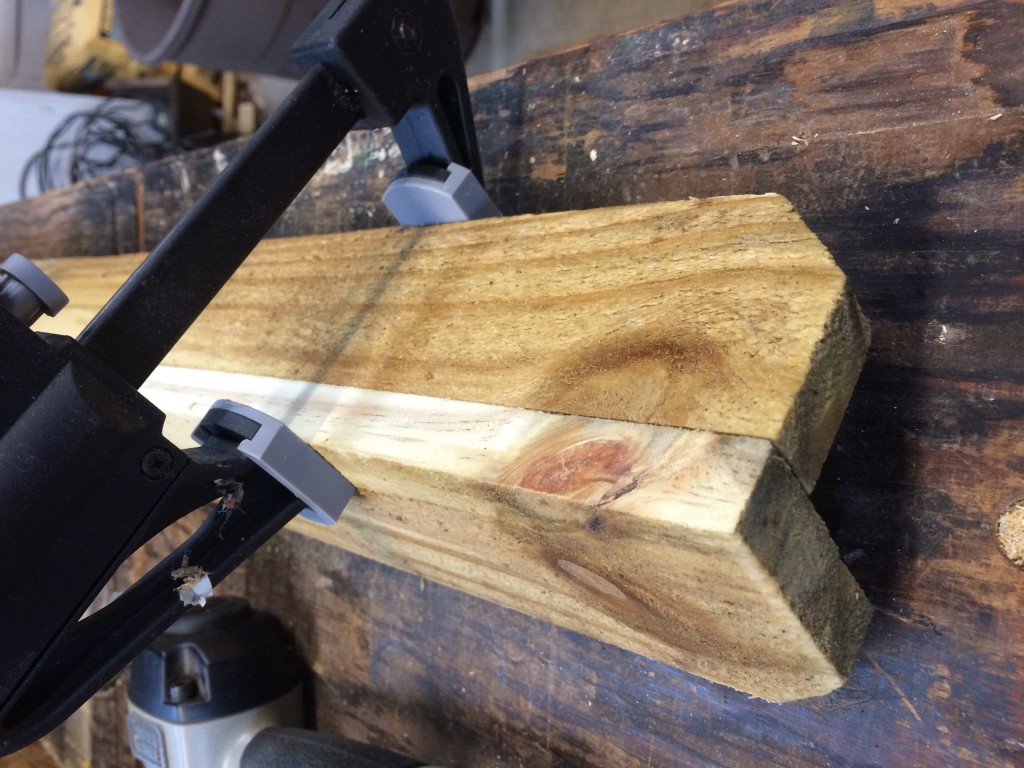
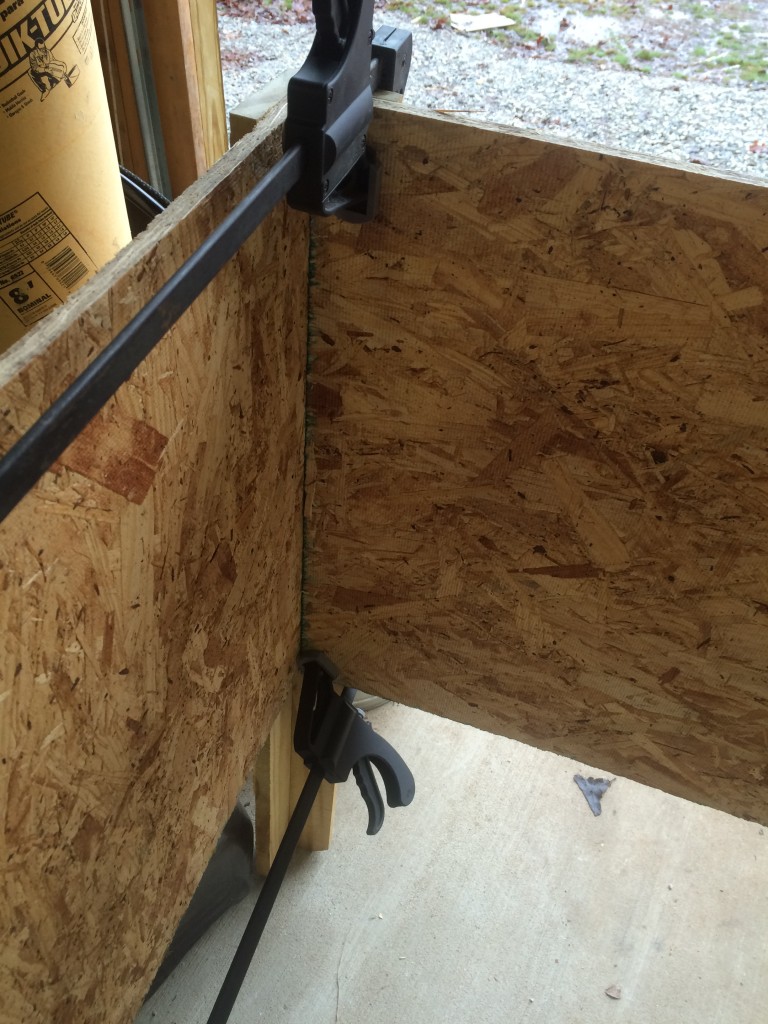
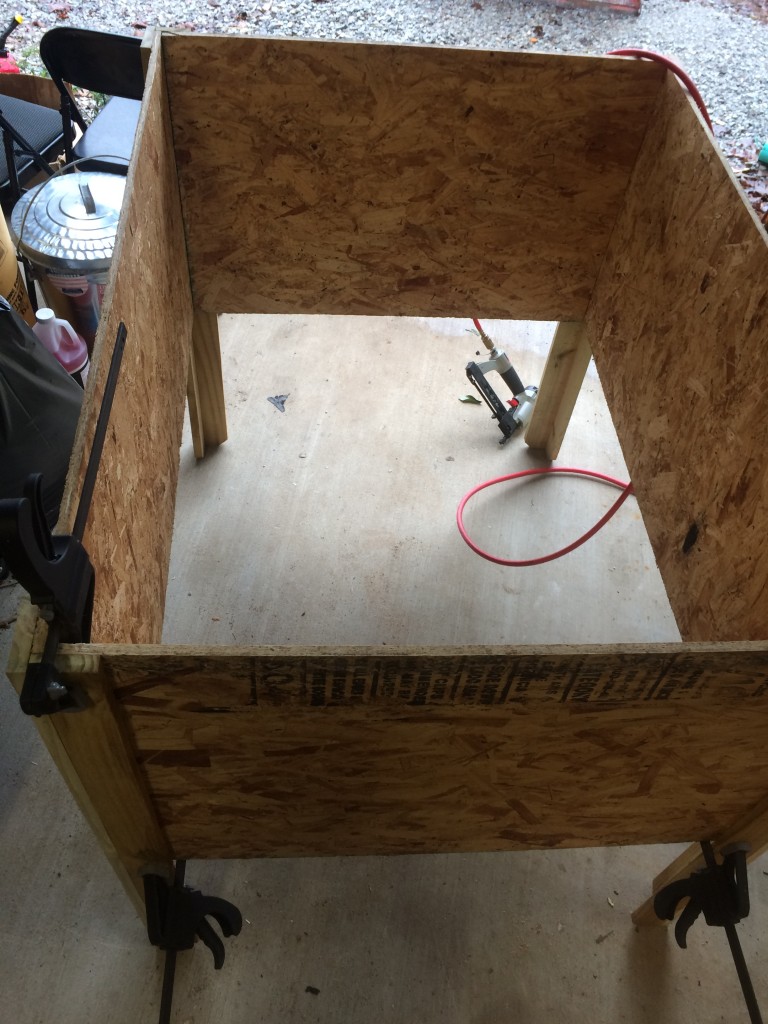
Walls put into place, clamped and stapled together. The unit was then carefully turned upside down for the bottom to be attached. In retrospect, it might have been easier to start with the entire assembly process with the top side down.
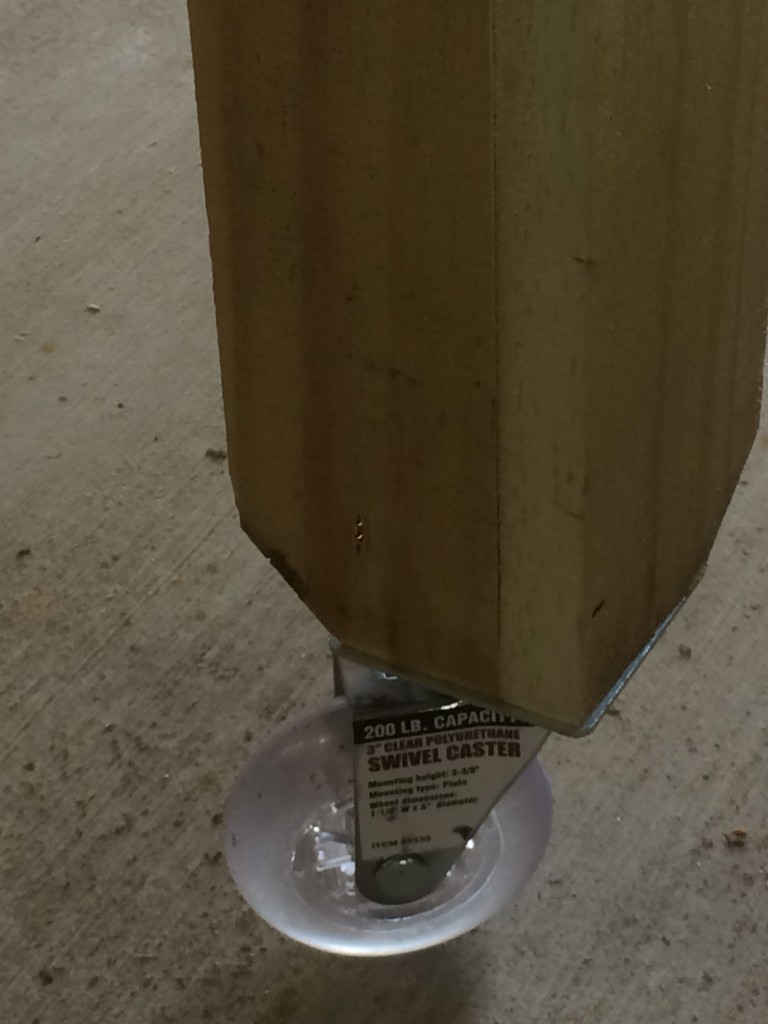
Wheels were added to make it easier to move the brooder around in the barn. It rolls easily on the concrete floor making it possible for one person to move it as needed.
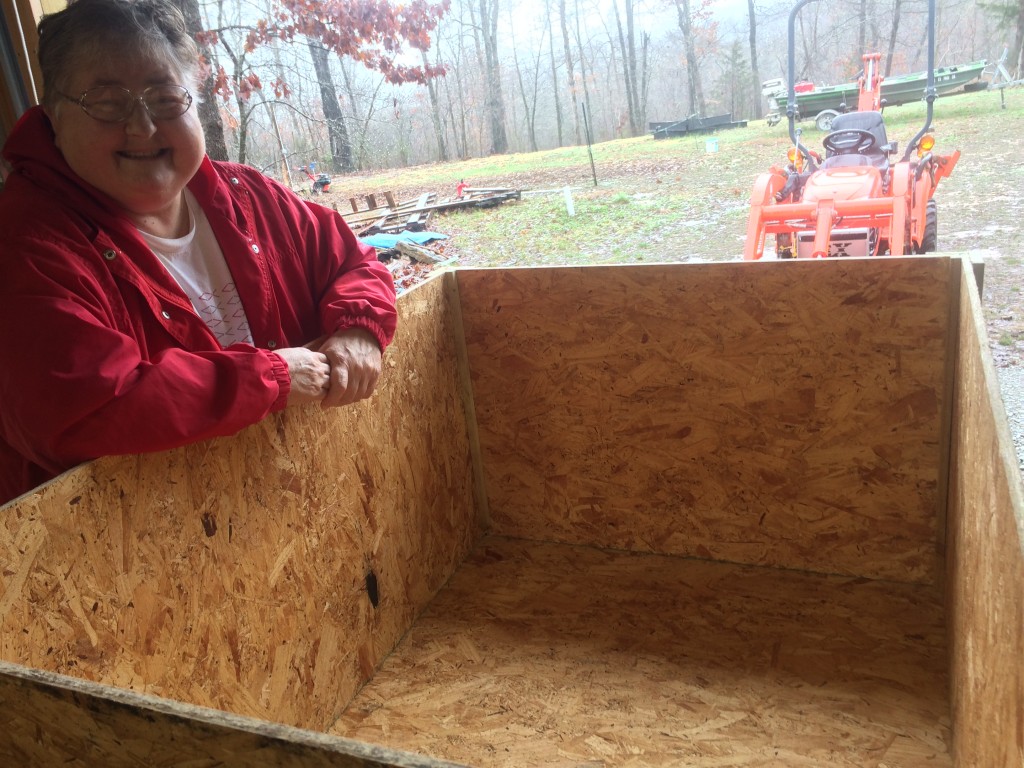
Final brooder assembled and nearly ready for the arrival of new residents. Notice the inside corners of the brooder box. I also ran a few strips from a fence picket for reinforcement of the corners, and to add support to the bottom of the floor, under the OSB between the legs.
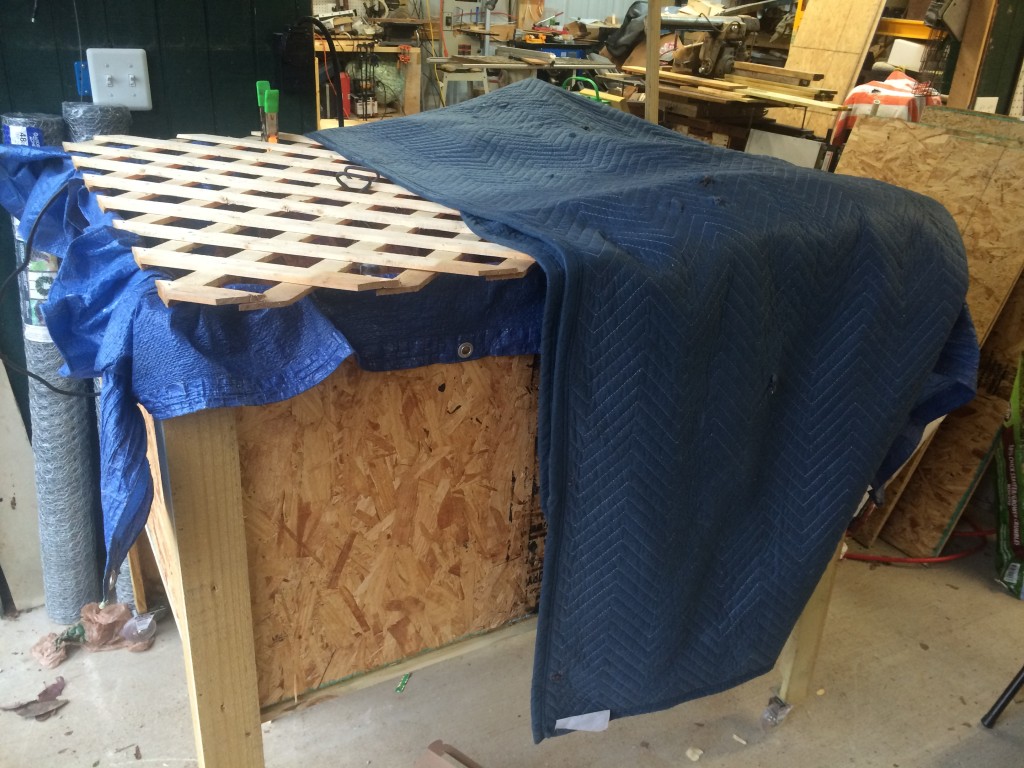
We decided to use a plastic tarp to line the brooder with, so when it came time to clean out the bedding, it would be a simple matter to pull the tarp with the bedding out and carry to the compost for disposal. The tarp is easy to clean afterward to be ready for the next brood. We used some left over pieces of heavy duty pressure treated lattice to go across the top to hang the heat lamps on, and keep the cat out as well as keeping the chickens in. As temperatures are still pretty cool, we also used a moving pad to place over the lattice to help hold in the heat from the lamps. A digital thermometer under the lamp and another one away from the lamp allows us to adjust the temperature in the brooder.
Views: 75

