The uSDX+ HF Transceiver
The uSDX+ is a low budget multiband low power HF transceiver. Low power transmitters under 10 watts or so are considered to be QRP transmitters for voice communications and 5 watts or less for cw or digital communications.
Except for contests and such the distinction between 5 and 10 watts seems to be ignored and 10 watts seems to be the defacto power level for QRP operations.
The uSDX+ output power across the bands has shown to range from about 2 to 7 watts in my actual use.
While there are a number of transmitters available in the low power range that are specific to WSPR – Weak Signal Propagation Reporting – I was looking for something that could also be used for other digital modes such as FT8 which is also considered a weak signal mode. Since my thinking was to do multiple modes, I elected to choose a transceiver and chose to use WSJT-X as my software as it performs well for both WSPR and FT8, and is well established for those modes.
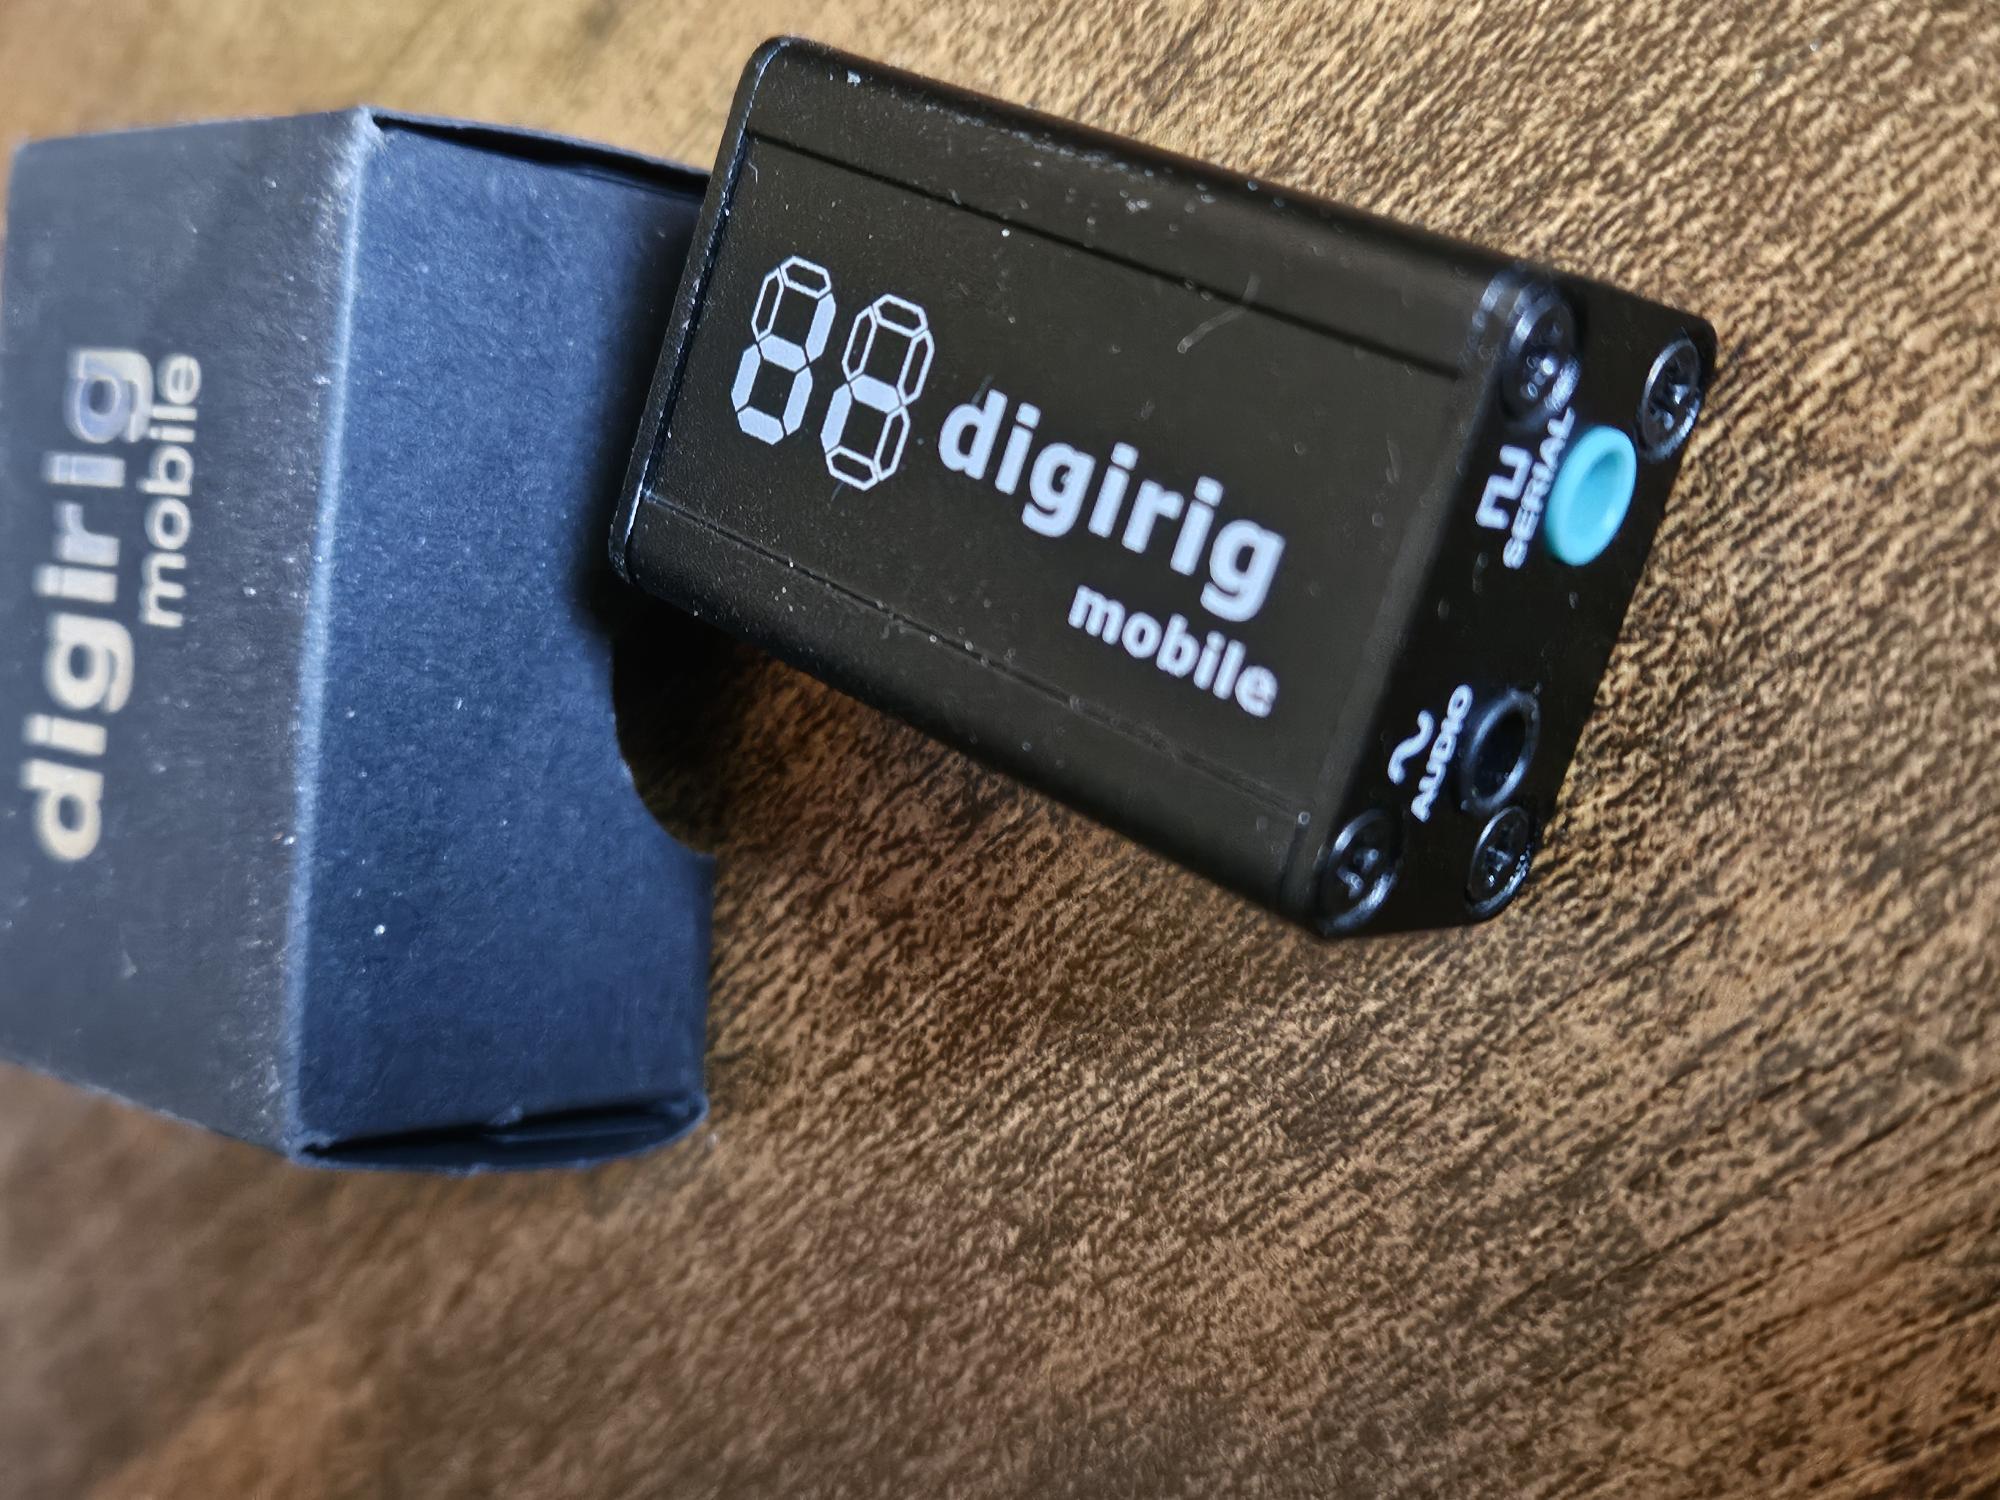
The Digirig
Continuing my search for how to setup the WSPR and FT8 modes, now that the software and transceiver has been selected, the next need was to determine how I was going to connect the PC to the transceiver.
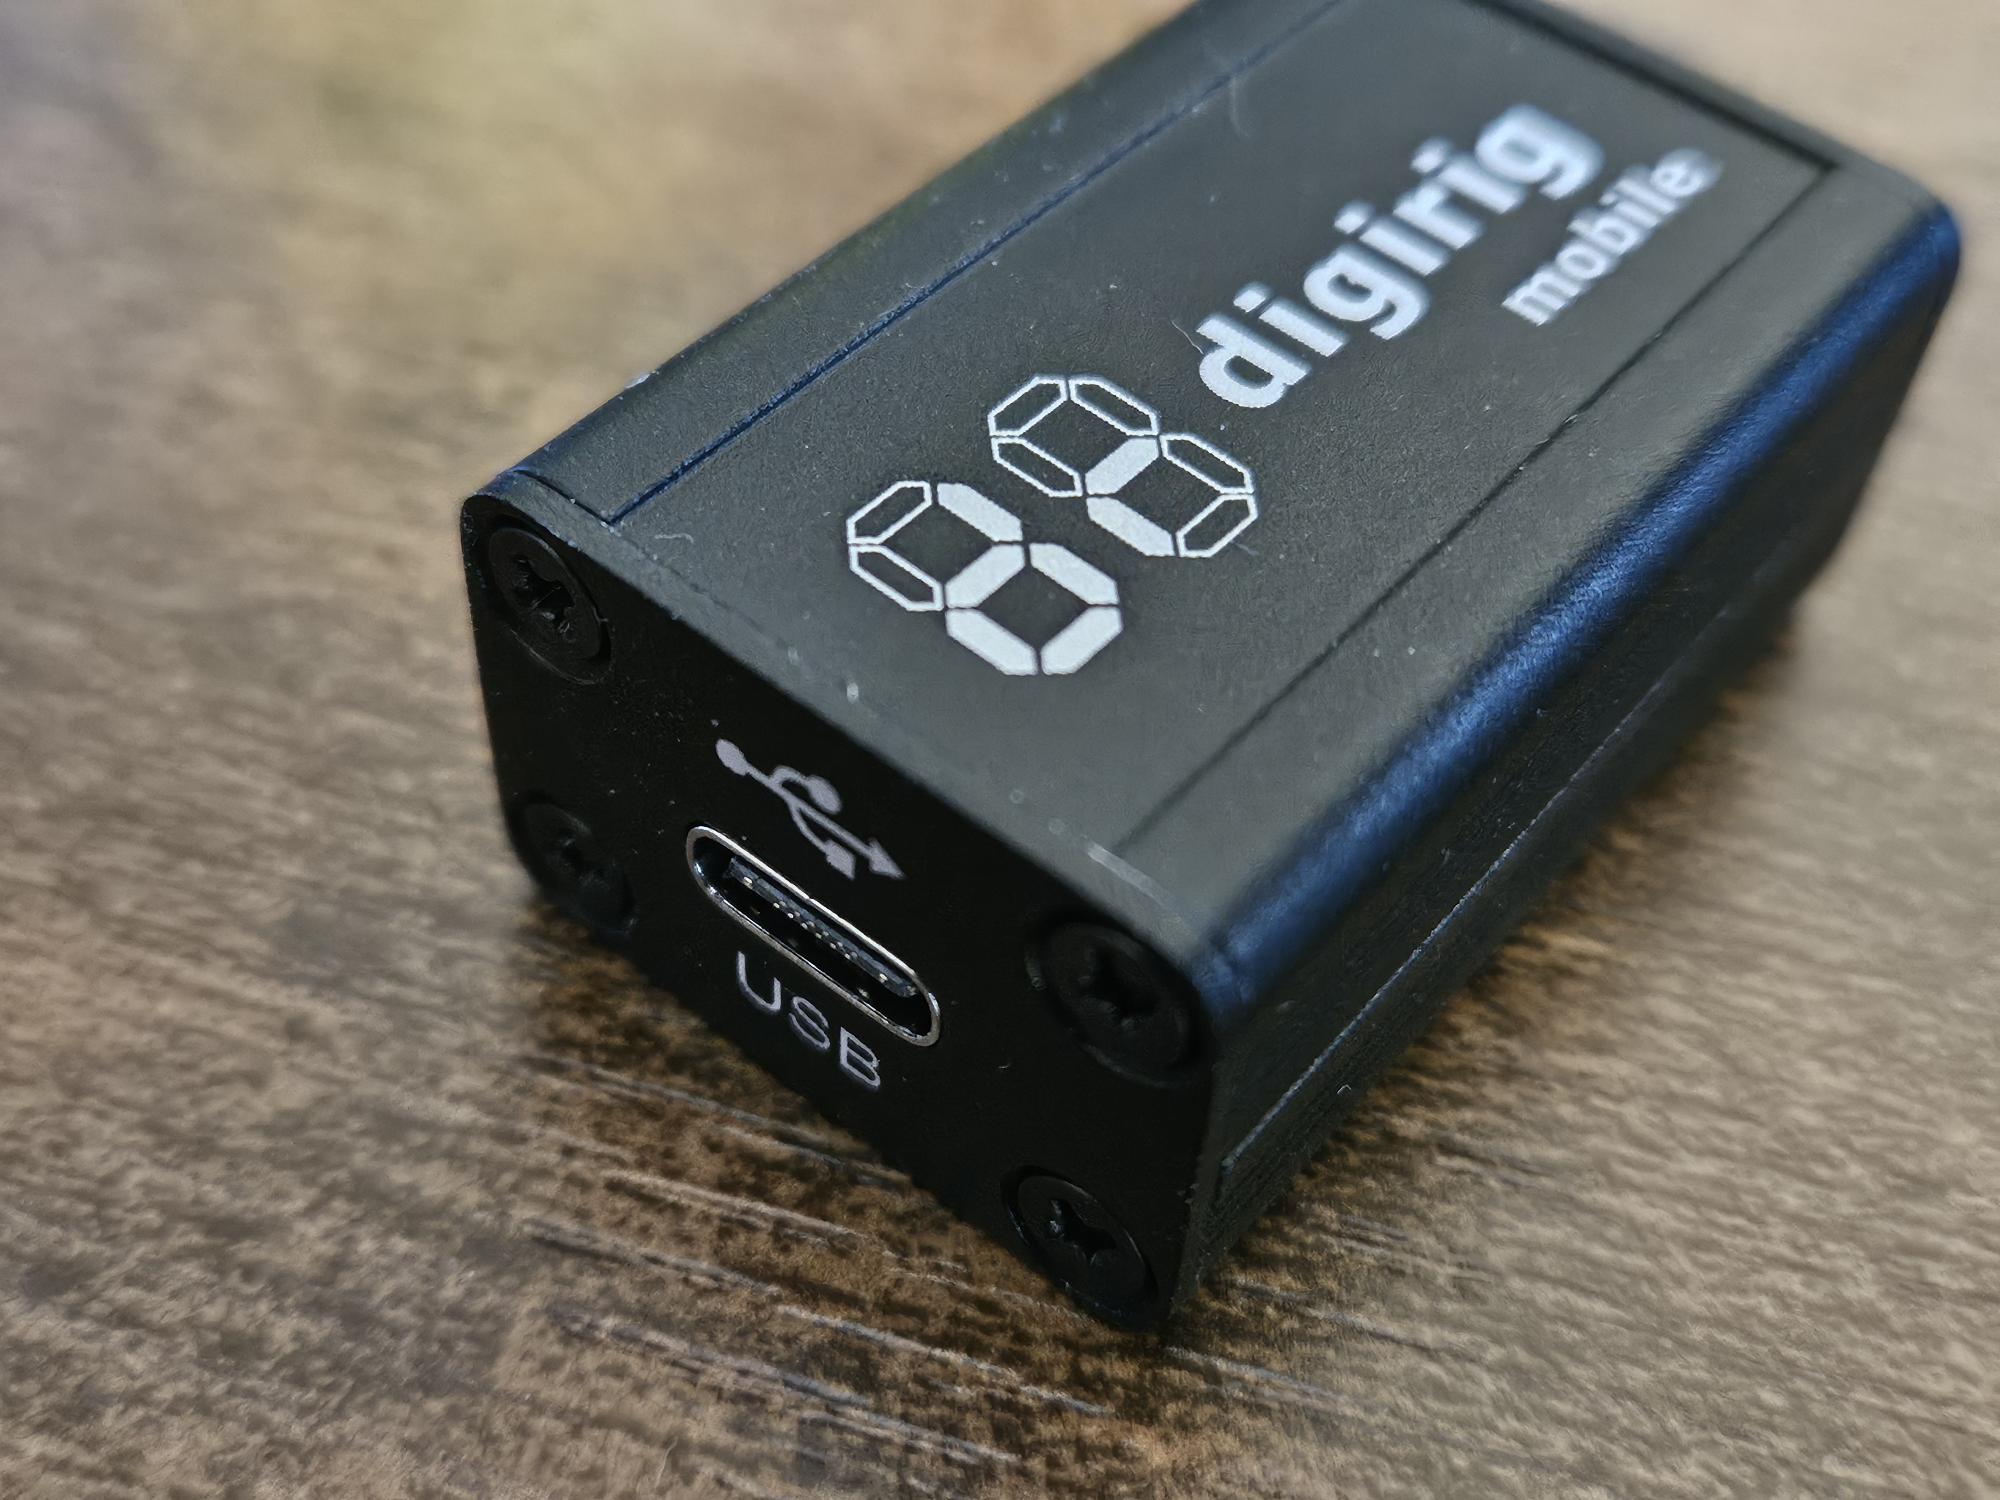
The easiest and most straightforward way to do this for me was with the Digirig. Looks pretty simple, merely connect the device by USB cable to the PC and with an audio cable to the uSDX+ via the front jacks.
In fact it was just that easy.
I purchased the Digirig and the appropriate cable for the uSDX+ directly from Digirig company. Their site included instructions and diagrams on how to home brew the cable if you prefer to build your own.
The Connections
The actual connections are quite simple. The PC to Digirig connection is a USB to USB-C cable like the one used on many cell phone chargers.
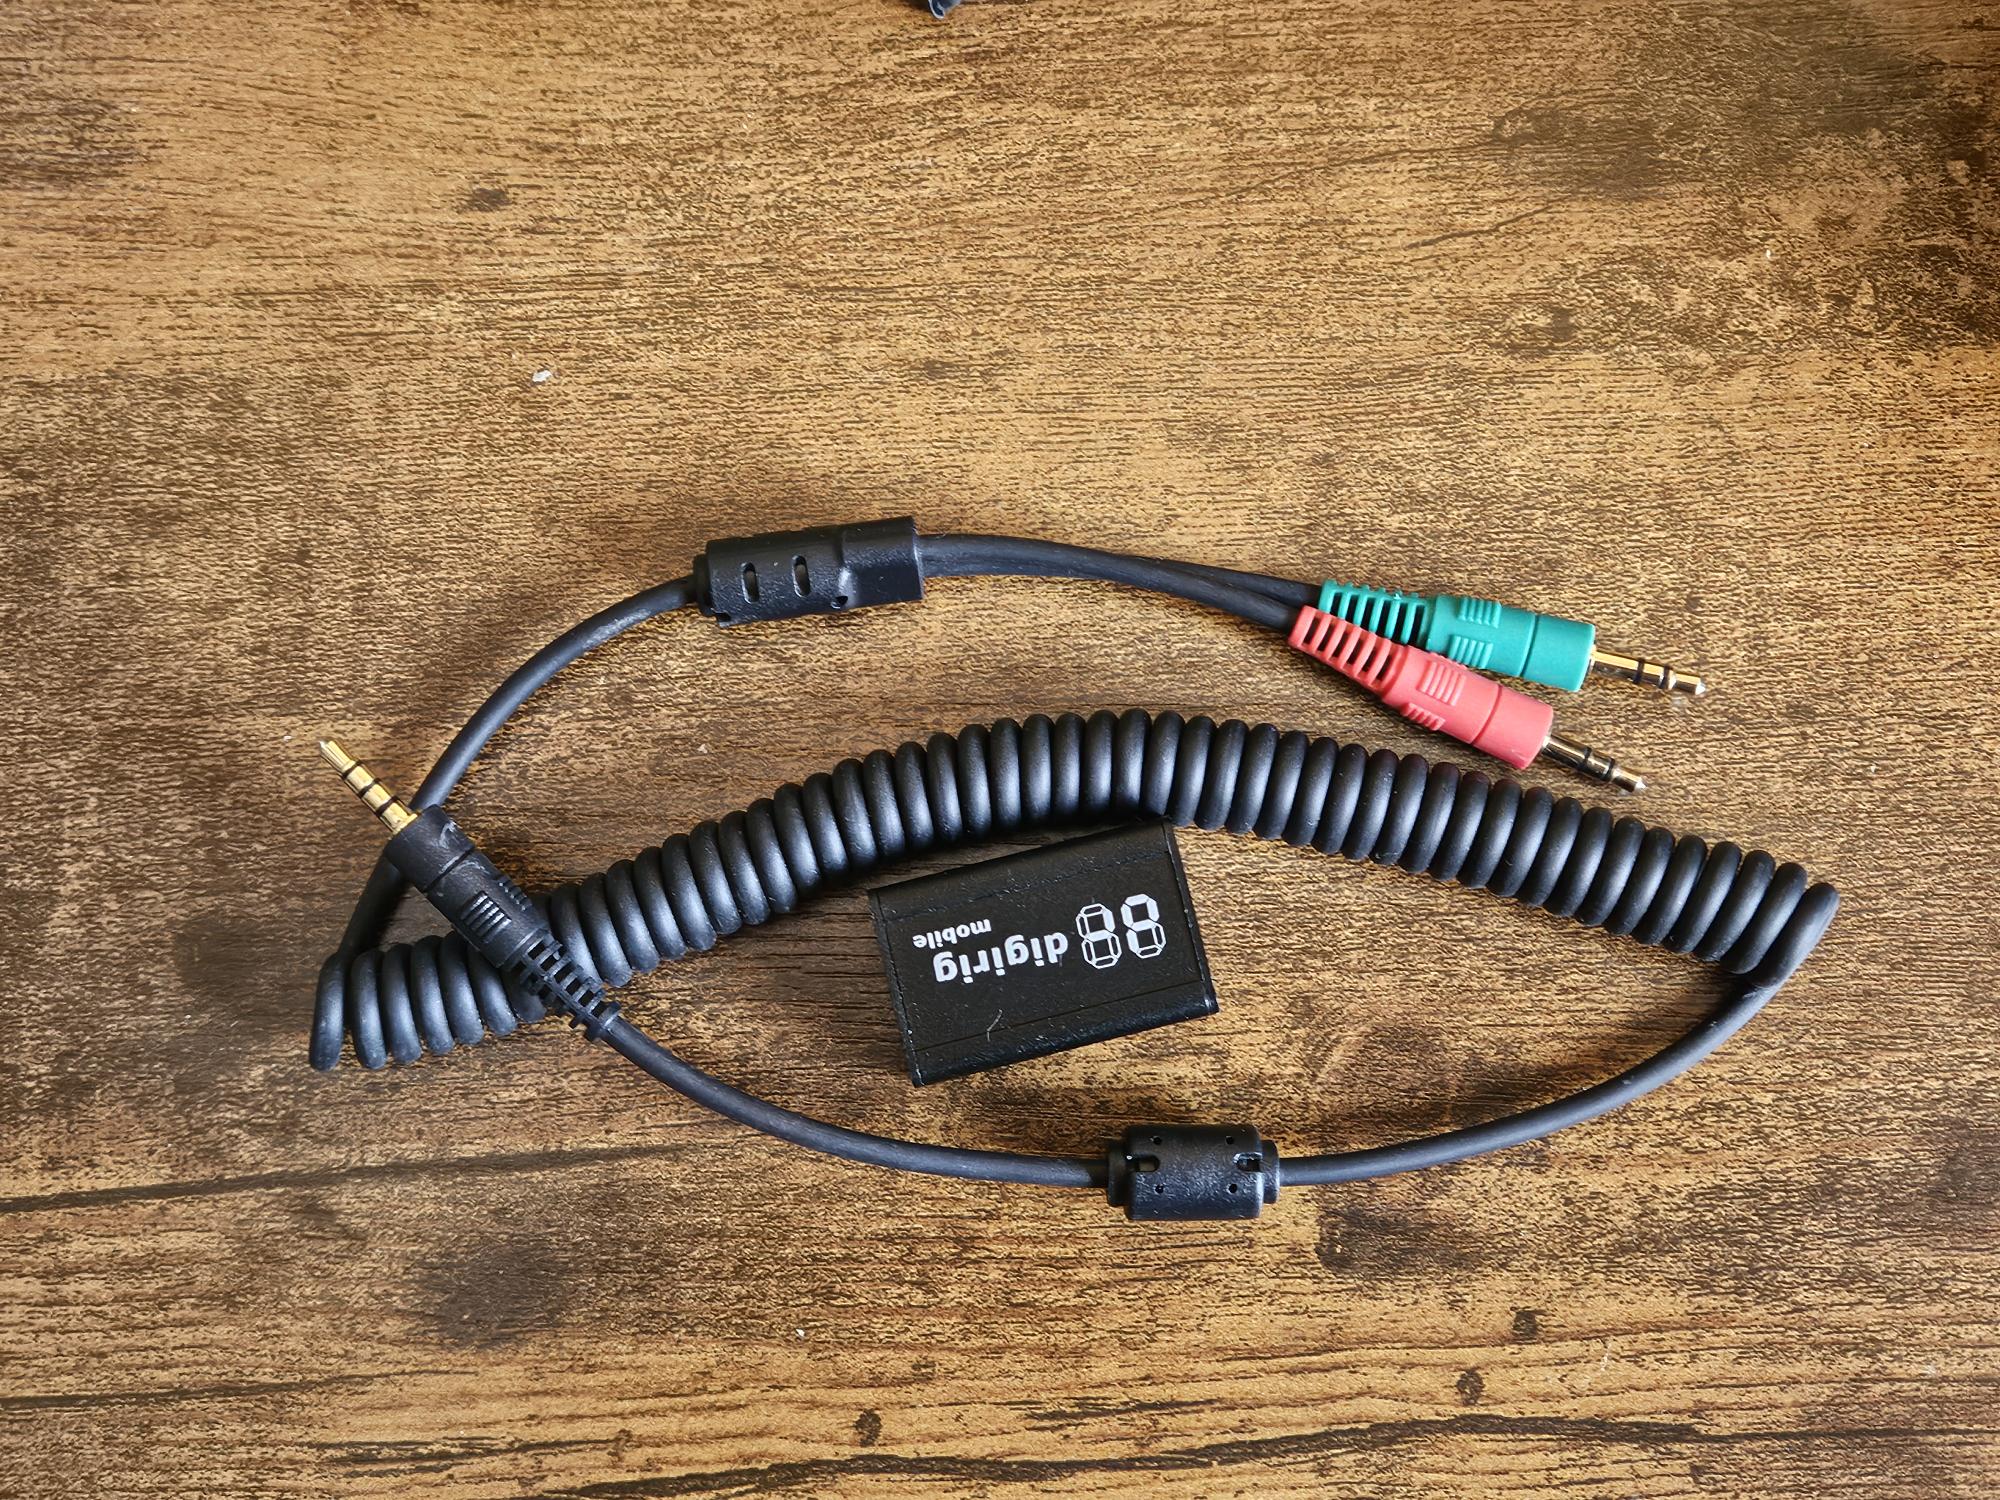
The cable from the Digirig to the uSDX+ is also quite simple. The black end of the cable which is a TRRS plug goes into the jack on the Digirig labeled as Audio. The red end of the cable is a TRS or Stereo plug goes into the Key/MIC jack on the front panel of the uSDX+ while the green end of the cable, also a TRS or Stereo plug goes into the HP (headphone) jack on the front of the uSDX+.
It should be noted that the green cable connector going to the HP jack carries audio output from the transceiver to the Digirig. The red cable connector carries both the audio going to the transceiver and also the PTT -Push To Talk- signal to put the transceiver into the transmit mode to send the signals and then switch back to receive mode once the message has been sent.
Conclusion
Setting up the hardware for WSPR or other digital modes is pretty straight forward and easy with the Digirig and the associated cable. Depending on your specific transceiver you will likely need a different cable. Digirig makes many such cables that cover most rigs and include detailed drawings and schematics for home brewing the cable you need.
In the next section I will go into the settings for the software to get this up and going.
