Continued from Making a Dragon Pen – Part 2
View Making a Dragon Pen – Part 1
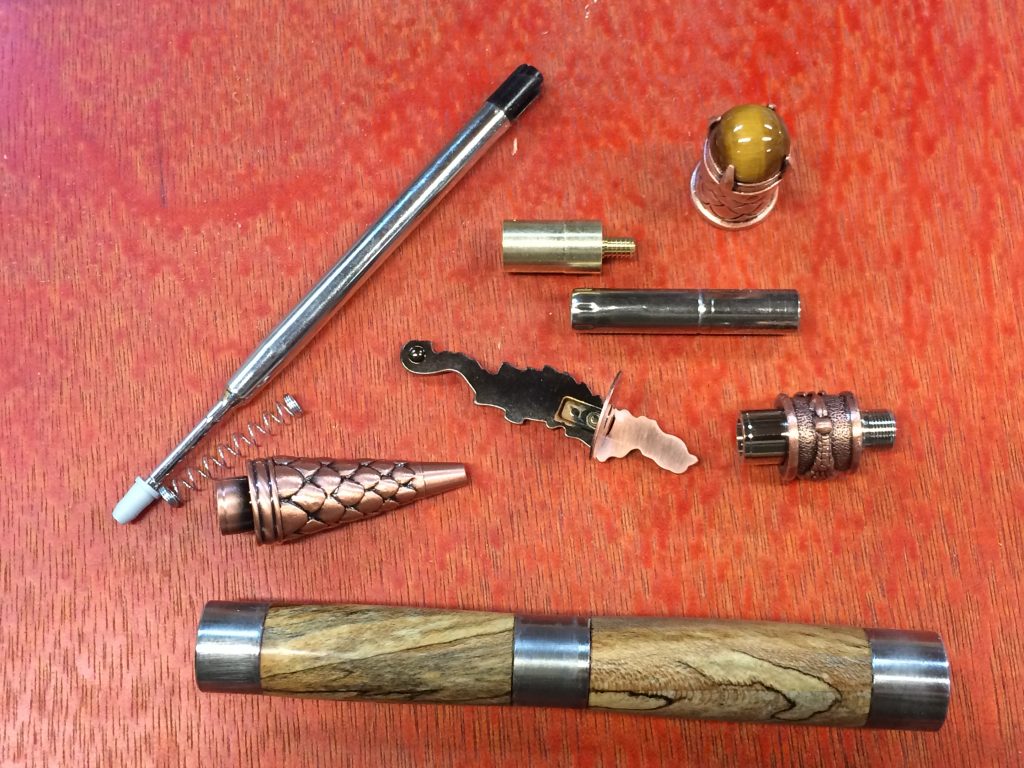
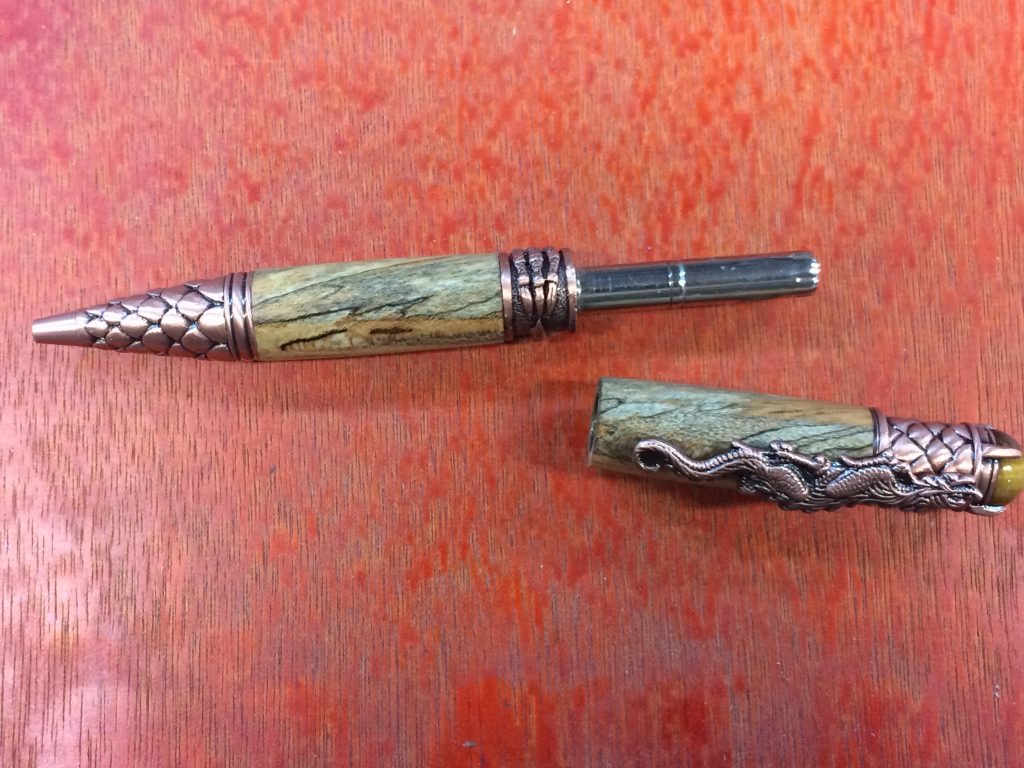
Ready for assembly now. Here is all the components ready to go together.
The wood is still on the bushings, kept together for grain alignment.
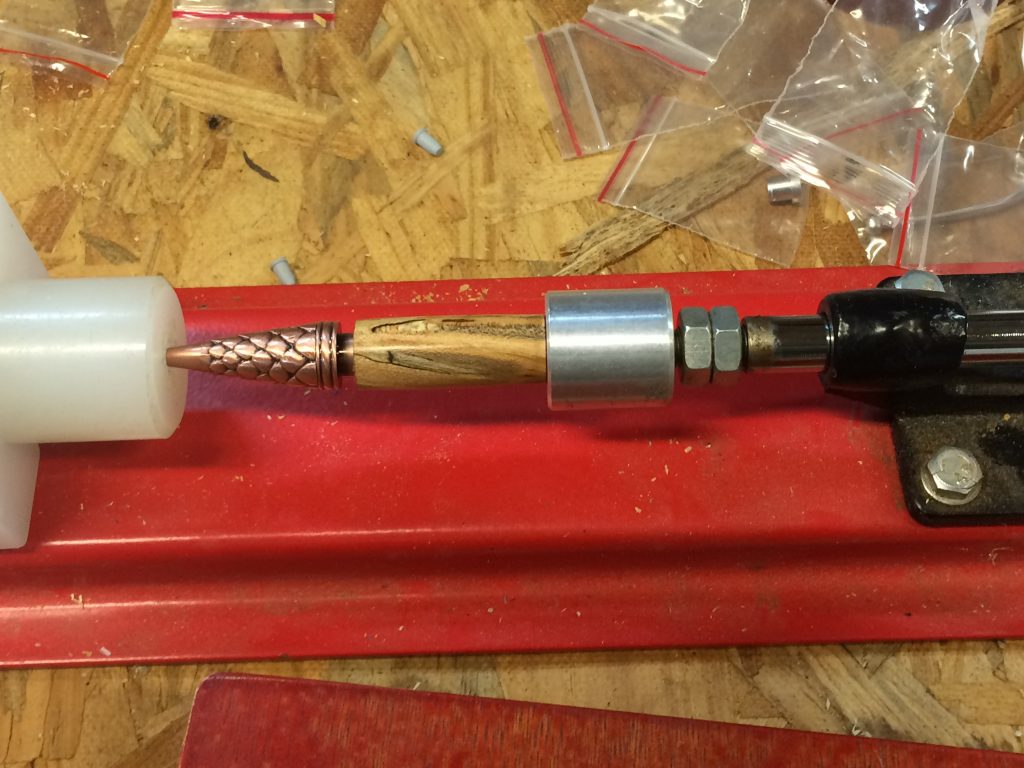
The lower barrel assembly, which is the finished wood and brass tube, is pressure fit into the pen tip assembly. The pen press allows the application of a lot of pressure needed to assemble the parts together. This forcing the tip assembly into the brass tube causes the brass tube to expand slightly, making a very tight fit holding the parts together. Care is taken here to keep the alignment of the parts straight, as a misalignment will cause damage to the barrel assembly, likely ruining the barrel assembly.
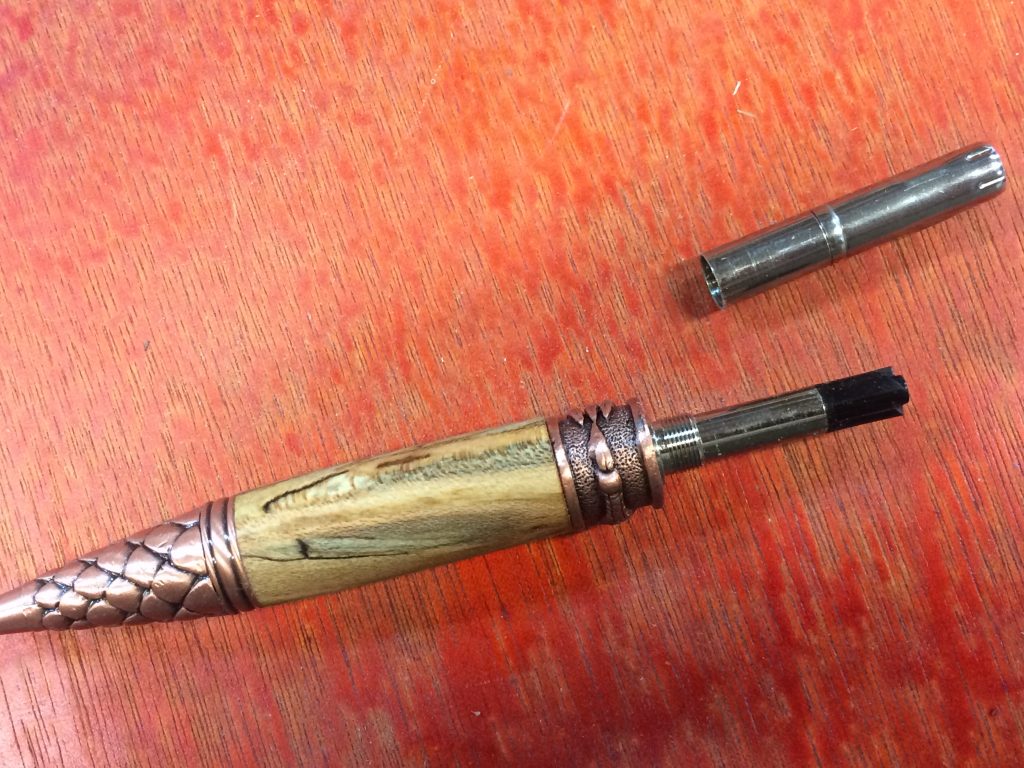
The center band is next pressed into the lower barrel, and the ink cartridge and spring are inserted into the lower barrel assembly. A twist mechanism is now installed over the ink cartridge and screwed onto the center band threaded section.
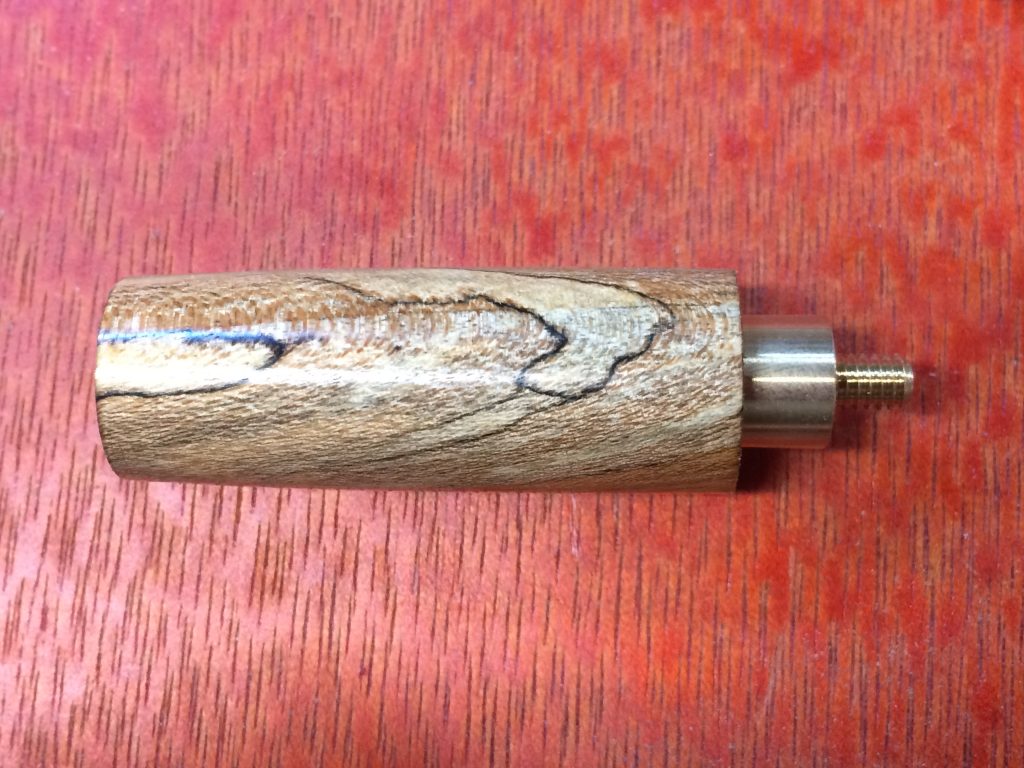
A threaded component is now pressed into the top section of the upper barrel. The Clip is placed over the threads, and the cap then screwed onto the threads. The cap holds the clip in place.
The lower and upper barrel assemblies are now complete. The upper barrel is then aligned with the lower barrel so the grain matches and the two sections are again pressed together. The twist mechanism is pressed into the upper barrel in this process. The upper and lower barrels are then twisted slightly to operate the mechanism to extend or retract the ink cartridge. When turned passed the fully retracted position, the twist mechanism then unscrews from the threaded centerband to allow the replacement of the ink cartridge. The twist mechanism remains pressed into the upper barrel assembly.
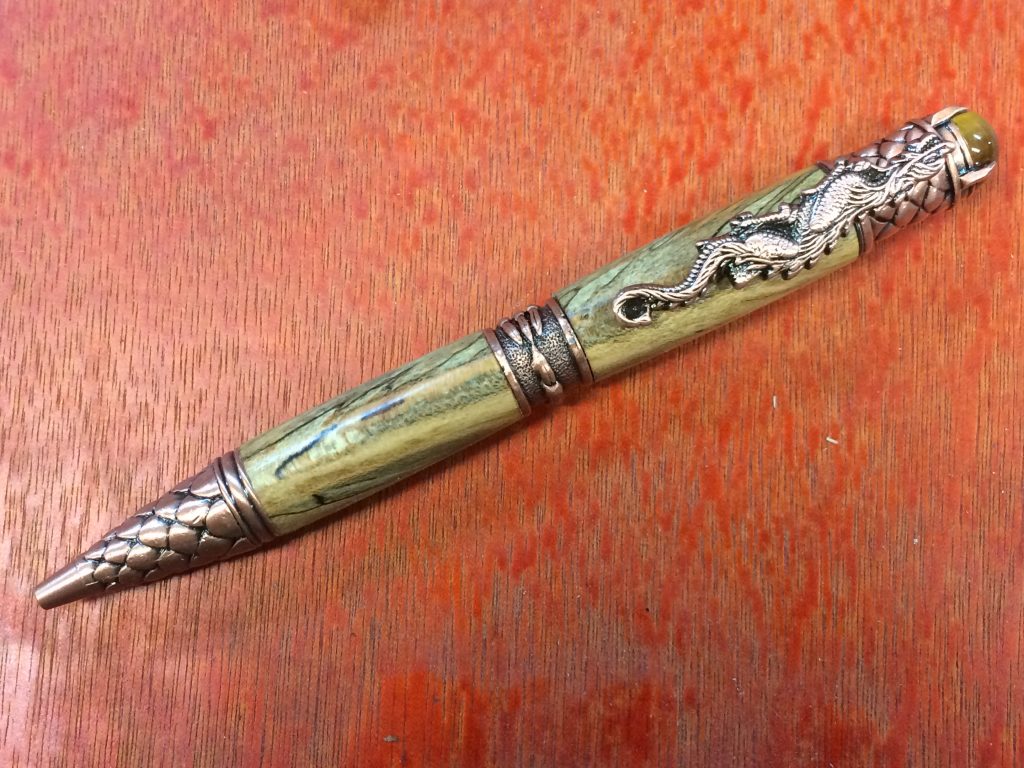
Here is the fully assembled Dragon Pen. A final pass on the polishing wheel and this one is ready to go!
Views: 101

